

This is a sponsored post written by me on behalf of Canon. All opinions are 100% mine.
Ever have a moment where you see something and absolutely love it and then look at the price tag and your jaw falls off your face? That’s me every time I look at painted artwork. I love the look of a painted artwork but usually they cost an arm and a leg, a small fortune, your extra kidney and the birthright of your child, your grandchild and your neighbors zero turn lawn mower. And I agree (emphatically!!!) – they should cost a lot. Artists deserve to be paid. Their artwork is one of a kind! But what if I told you that you could turn a photo into a one-of-a-kind painted canvas piece?! You can and I’m here to share how!
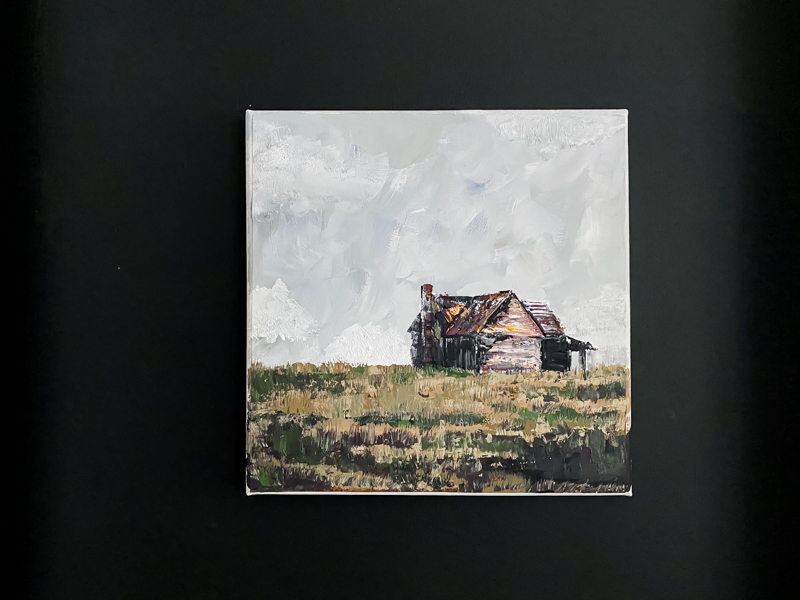
I painted that! It is so easy for anyone to do and it’s very similar to the idea of paint-by-numbers except it’s more like paint-by-matching-colors. Here is the full tutorial on how to print a photo with a Canon all-in-one printer and then turn it into a textured work of art.
MATERIALS
The first thing you need to do is gather your supplies. Obviously the most important supply is to own an at home printer. I love my Canon all-in-one printer and use it for printing everything from worksheets for the kids to invoices for our small business.
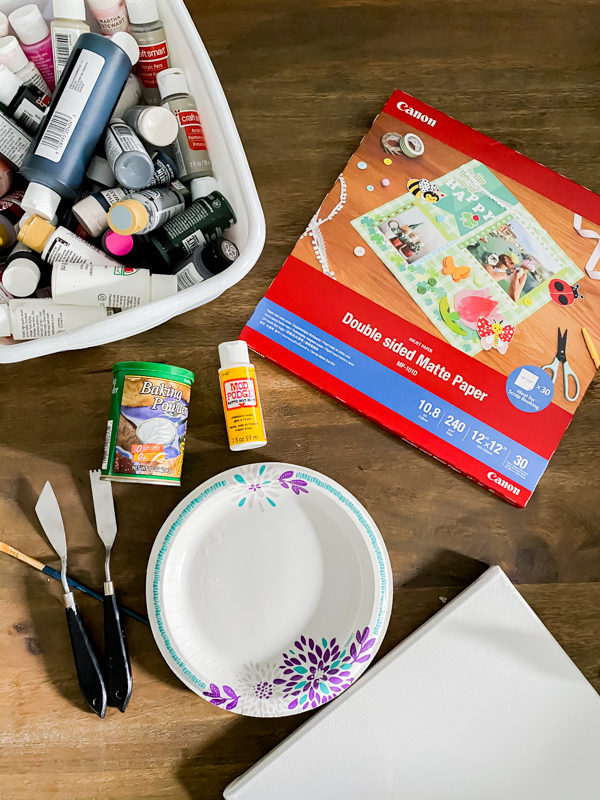
Here is what I used for this project:
- 12×12 canvas
- Acrylic paint – various colors
- Paint brushes
- painters knife
- PIXMA Crafting Printers
- Matte 12×12 Canon Printer Paper
- baking powder
- mod podge
- scissors
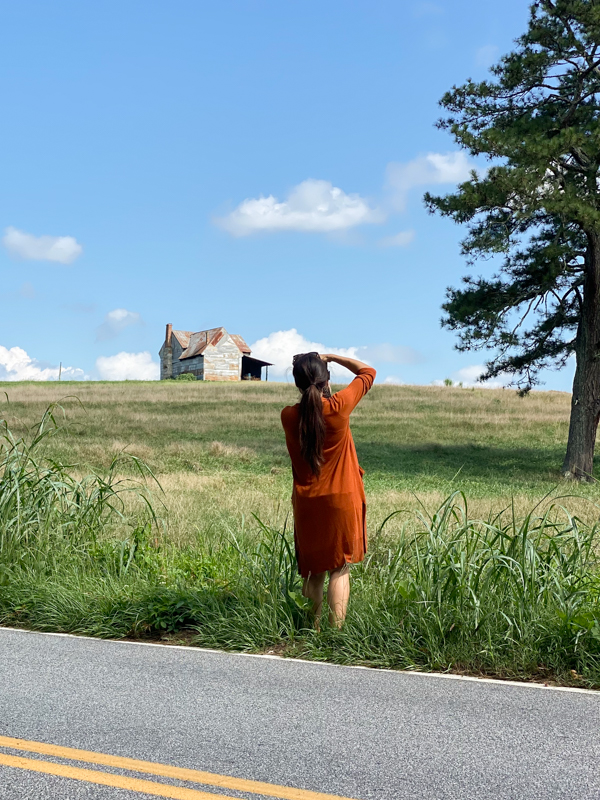
TAKE YOUR PHOTO
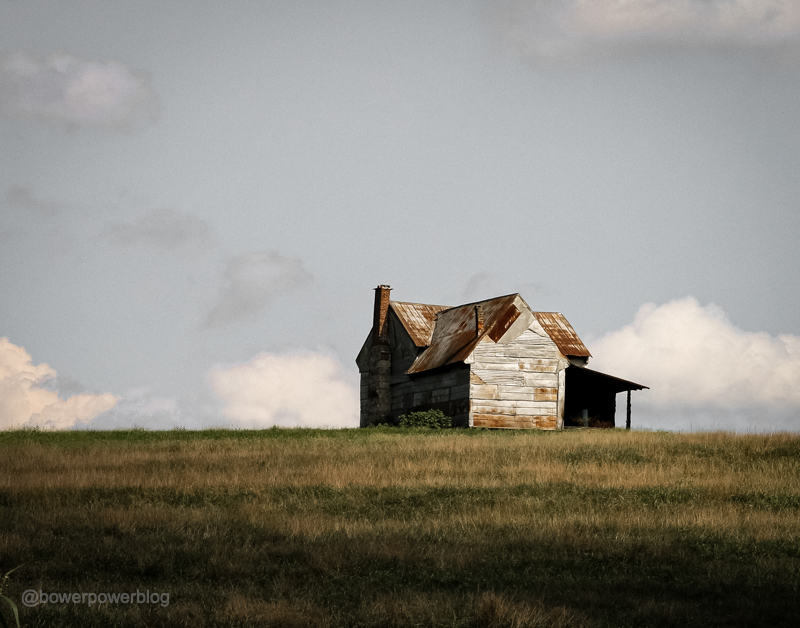
The first step in this process is to take a photo. I decided to go with a landscape with a lot of sky and a pretty barn. I loved the photo as is but there are a huge number of pretty barn photos available. I wanted to see if I could turn this one into a painting – which would be a lot more textured and personal. The other thing to keep in mind is that your photo would be cropped to a 12×12 size so make sure you remember your rule of thirds.
My final photo post editing turned out really beautiful. Of course this would look stunning as a portrait or a photograph. You can take the photo with your phone but I highly recommend the beginner Canon DSLR if you are interested in photography.
PRINT YOUR PHOTO
Using my PIXMA TS9521C printer, I printed out my beautiful photo on 12×12 photo paper.
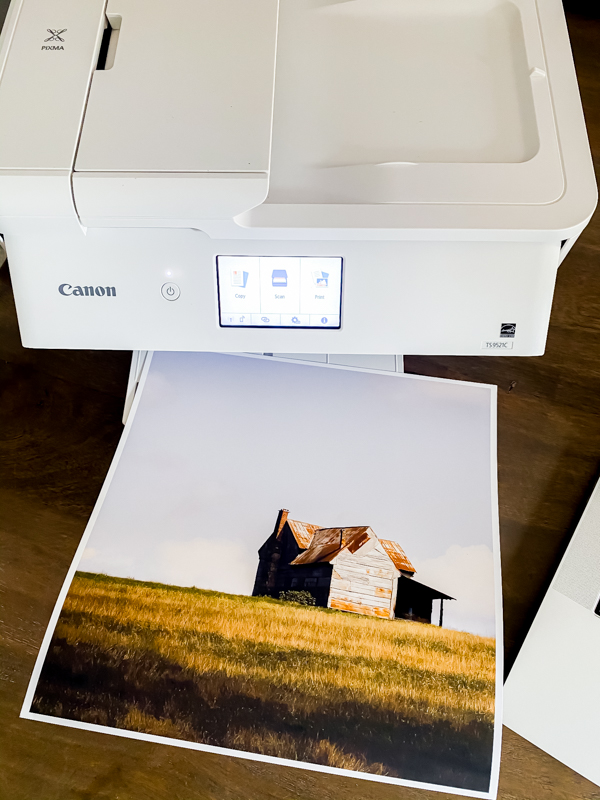
I did print mine with a small border (I knew I was going to trim my paper after printing) so this gave me a guideline for the trim.
Remember that this paper needs to be matte for the paint to sit perfectly on it. If it is semi-gloss or glossy, the paint might be thinner in some areas and shine through.
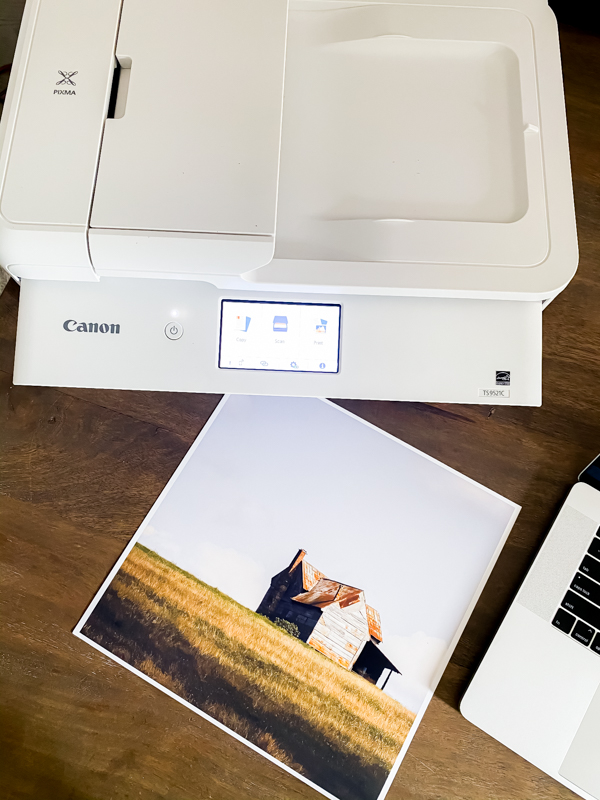
TRIM & GLUE
After you print your photo, trim the white border off the edges with scissors. It will make the photo the perfect size for the canvas. You definitely don’t want the photo to extend to the edge. Then spread a thin layer of mod lodge or adhesive on the canvas. I spread it with a paint brush and extend it all the way to the edge of the canvas. Then firmly place the photo centered in the middle of the canvas. Allow that to dry fully.

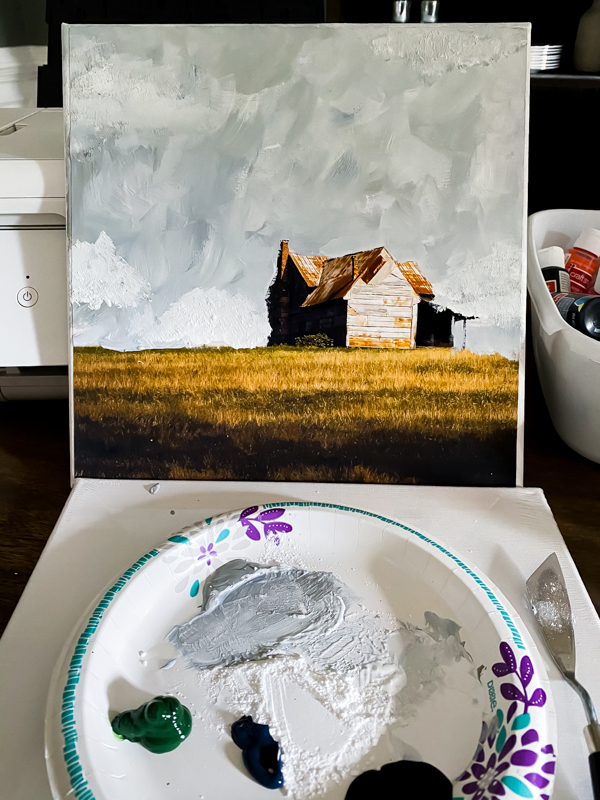
PAINT PHOTO
Using a regular paint brush and acrylic paint, I mixed the colors of the sky first. In order to make the pain thicker – I added some baking powder. This also makes the paint dry faster so keep that in mind.
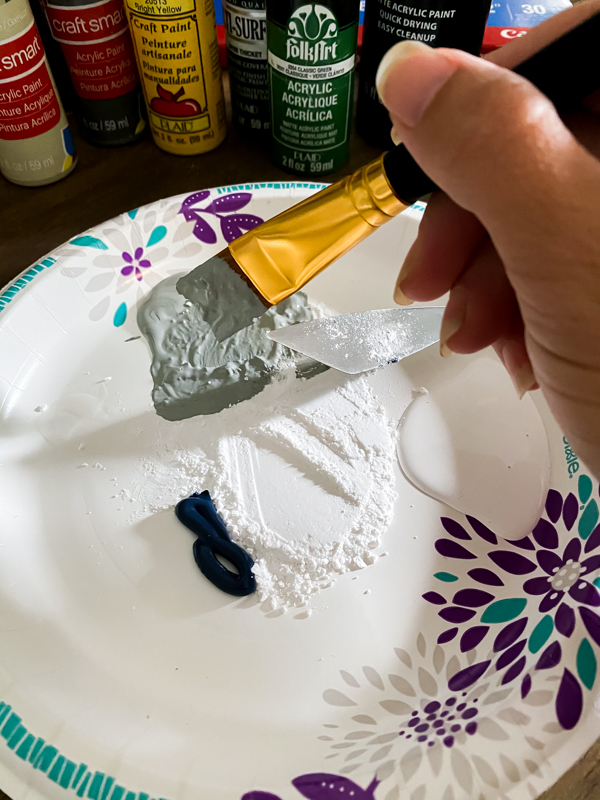
Painting the sky was very fun – short broad strokes and lots of mixing grays, white and blue. I think that the key to making it realistic is to draw from the colors already in the photo. You basically are just referencing the photo to choose colors and then use the photo as a guide for your painting. This takes a lot of guesswork out of painting – you don’t have to worry about perspective or shadowing or even tone since the photo already has that.
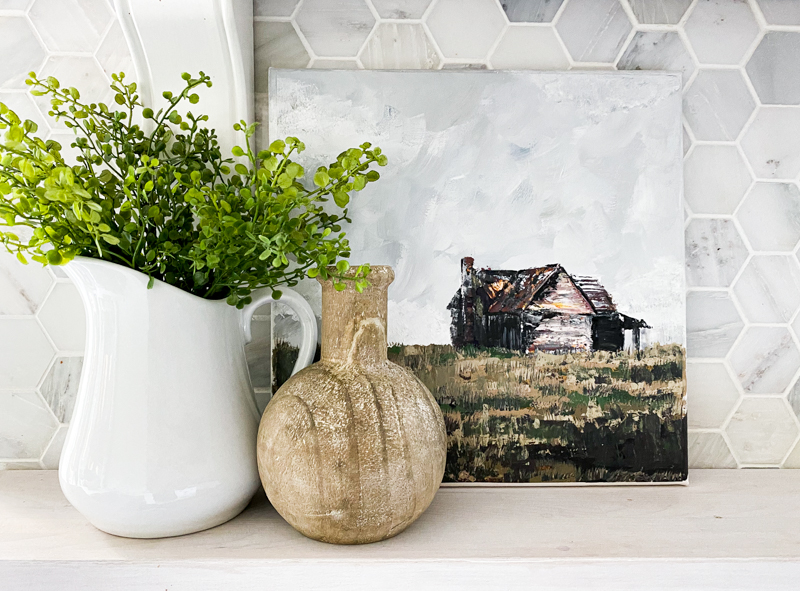
The finished product is really quite easy! I love the fact that the painting is one that draws on realism but is still definitely a painting.
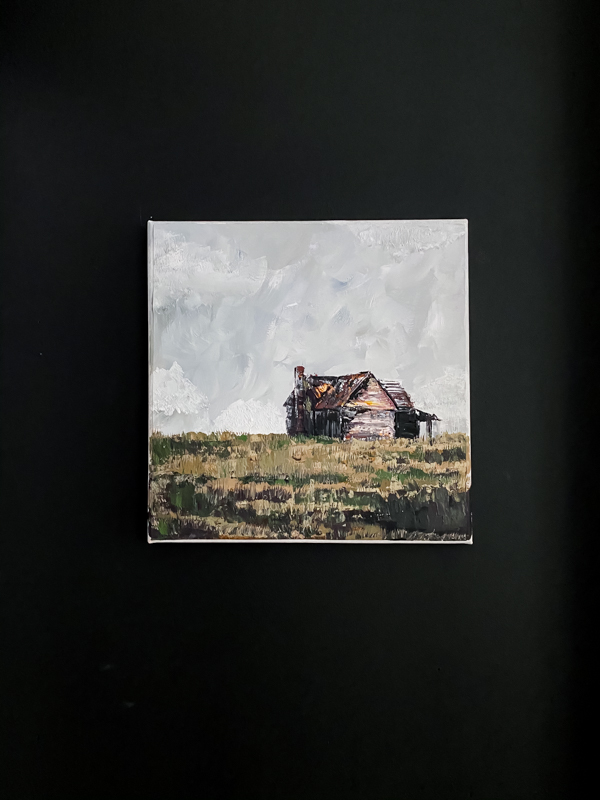
Isn’t it darling?!
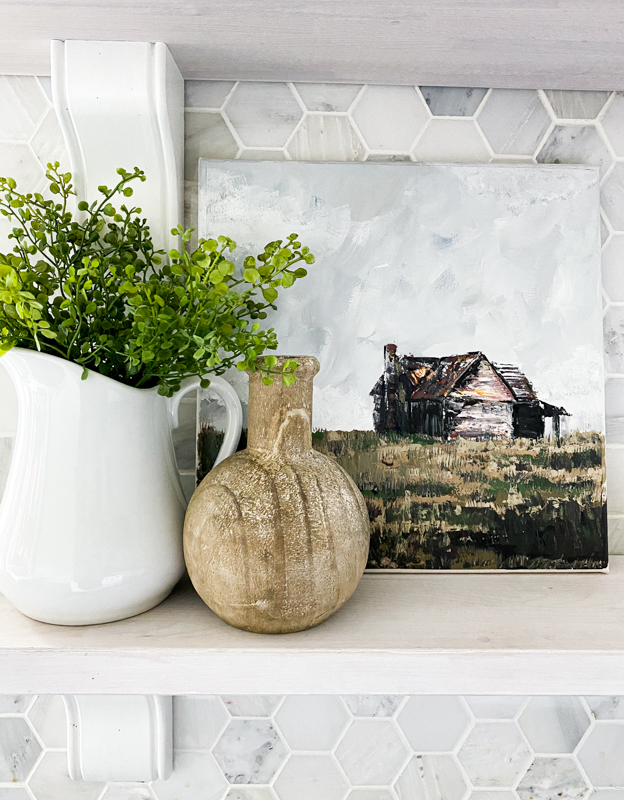
I hope you enjoyed this easy painting tutorial and gave you another idea how to use your Canon printer to create custom artwork for your home!
The post Turning a Photo Into a Painted Canvas appeared first on Bower Power.