Learn Bounce Lettering Using Irojiten Colored Pencils
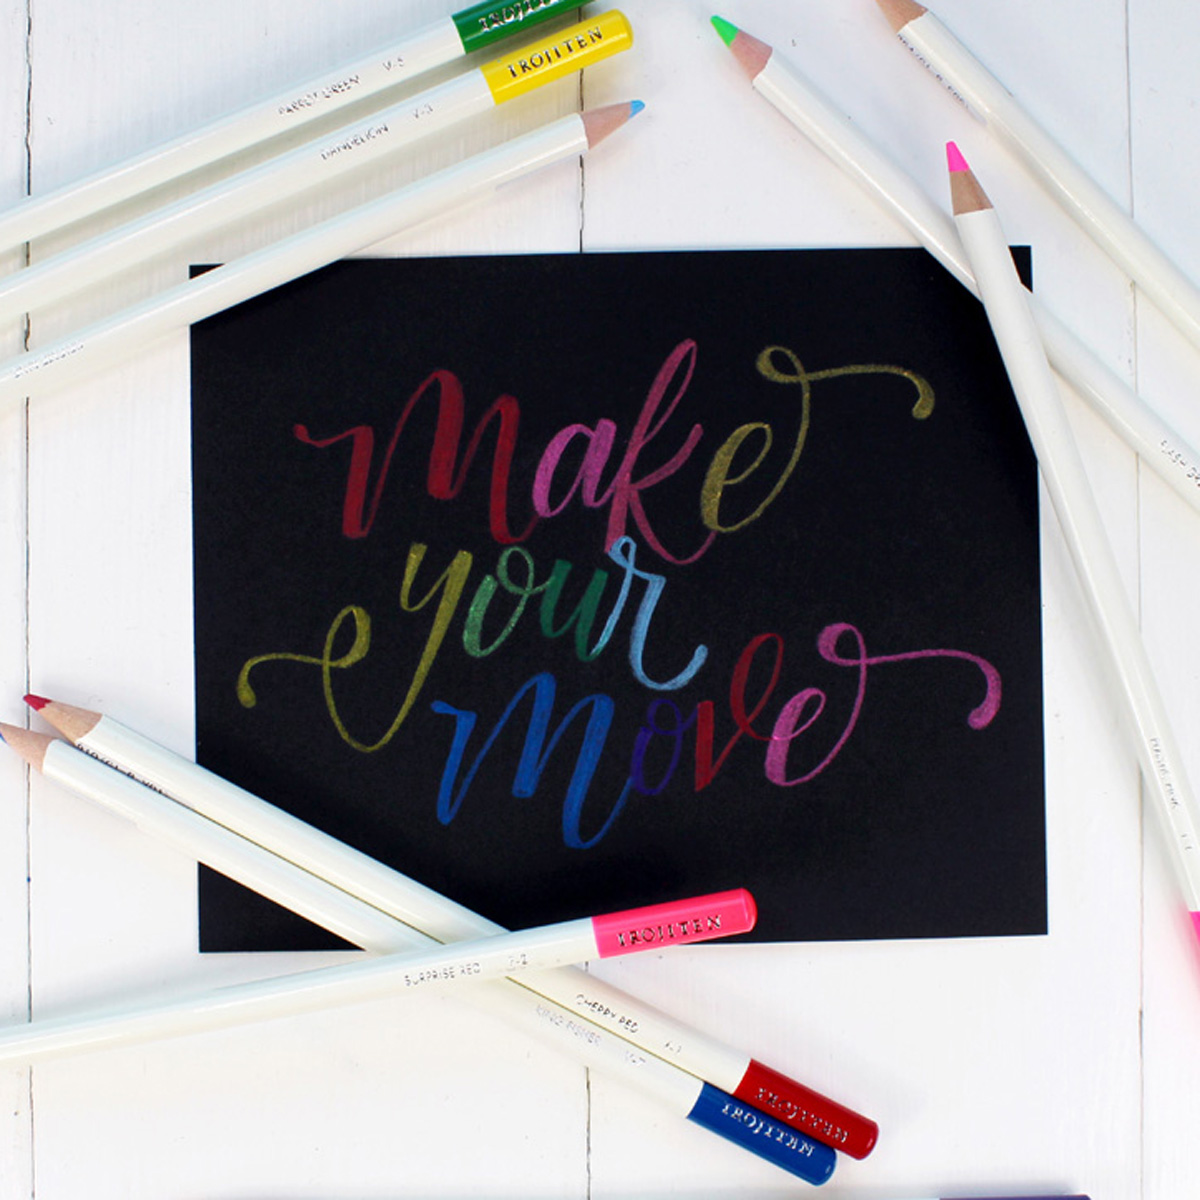
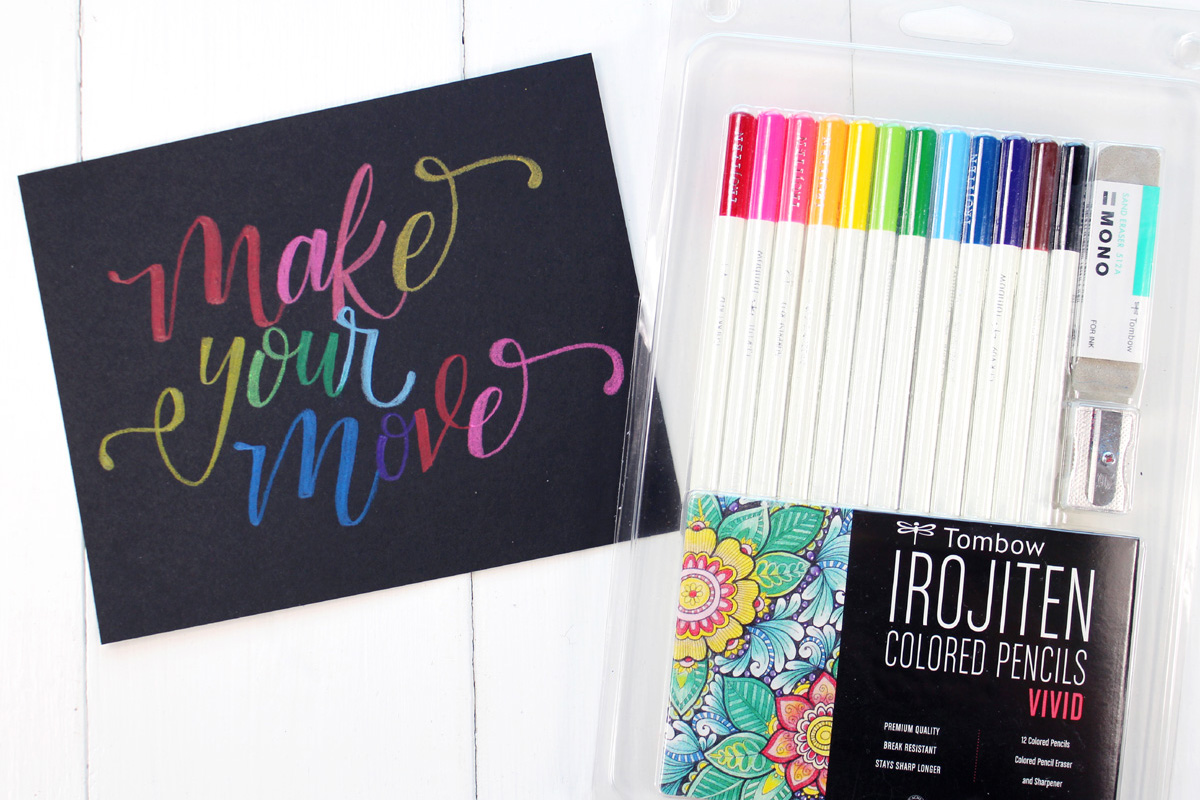
Hi friends, it’s Natalie from Doodlecraft with a simple bounce lettering tutorial. Have you tried hand lettering yet? Hand lettering is the art of writing letters. It’s like alphabet art! Learn bounce lettering using Tombow Irojiten Colored Pencils to create stunning works of art. It’s perfect for handmade cards, home decor or other paper crafting.
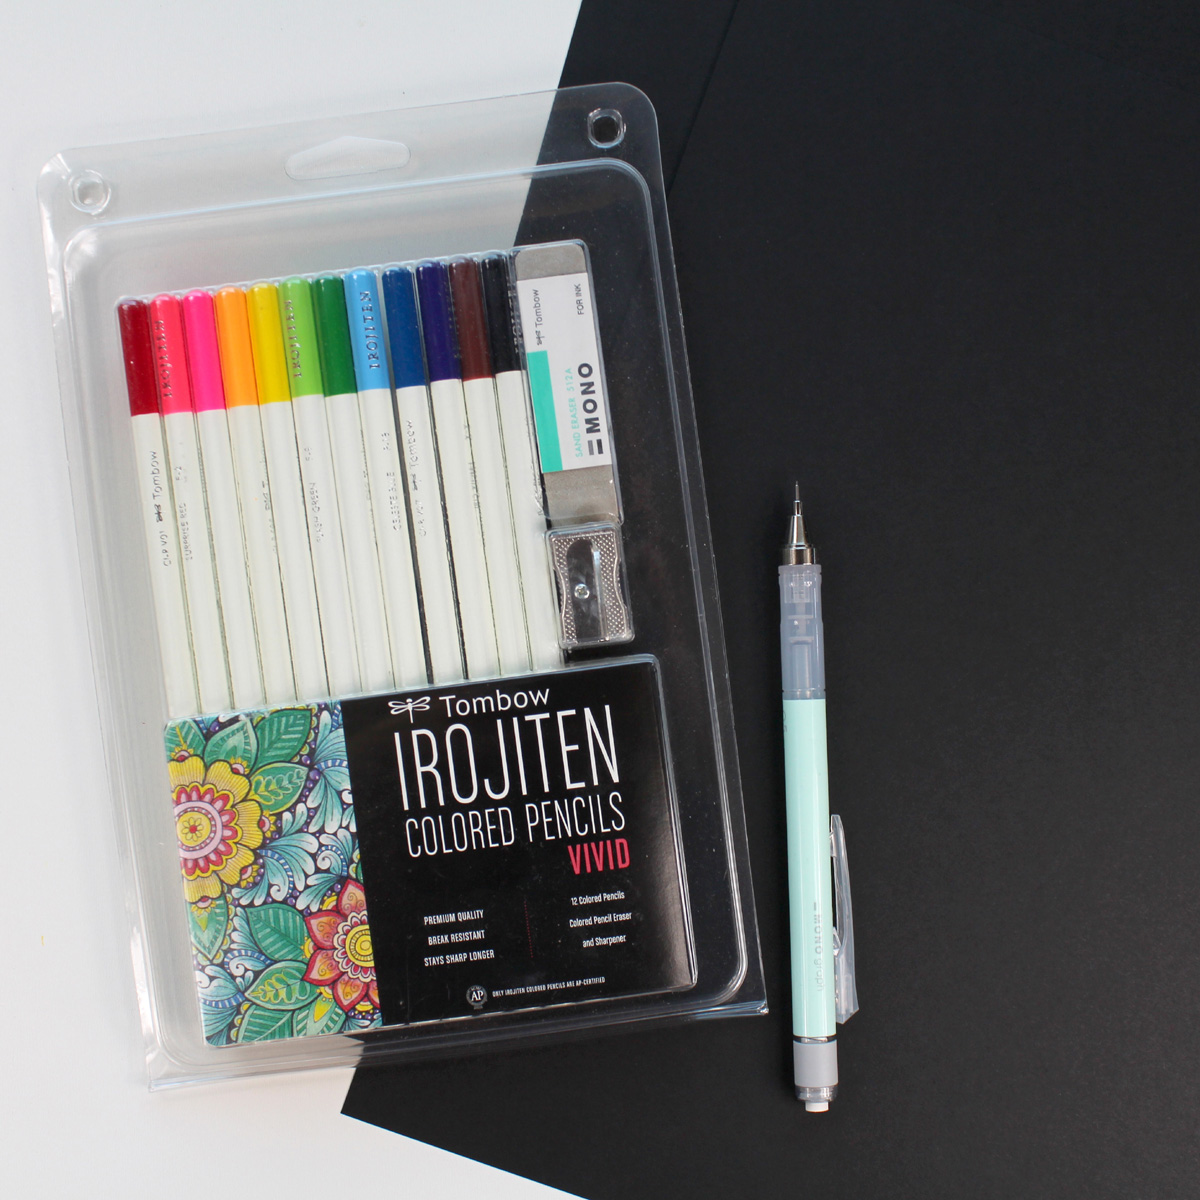
Supplies Needed for Bounce Lettering:
Tombow Irojiten Colored Pencils (Vivid Set)
Black paper
Tombow MONO Graph Mechanical Pencil
Step 1: Form the Bounce Letters
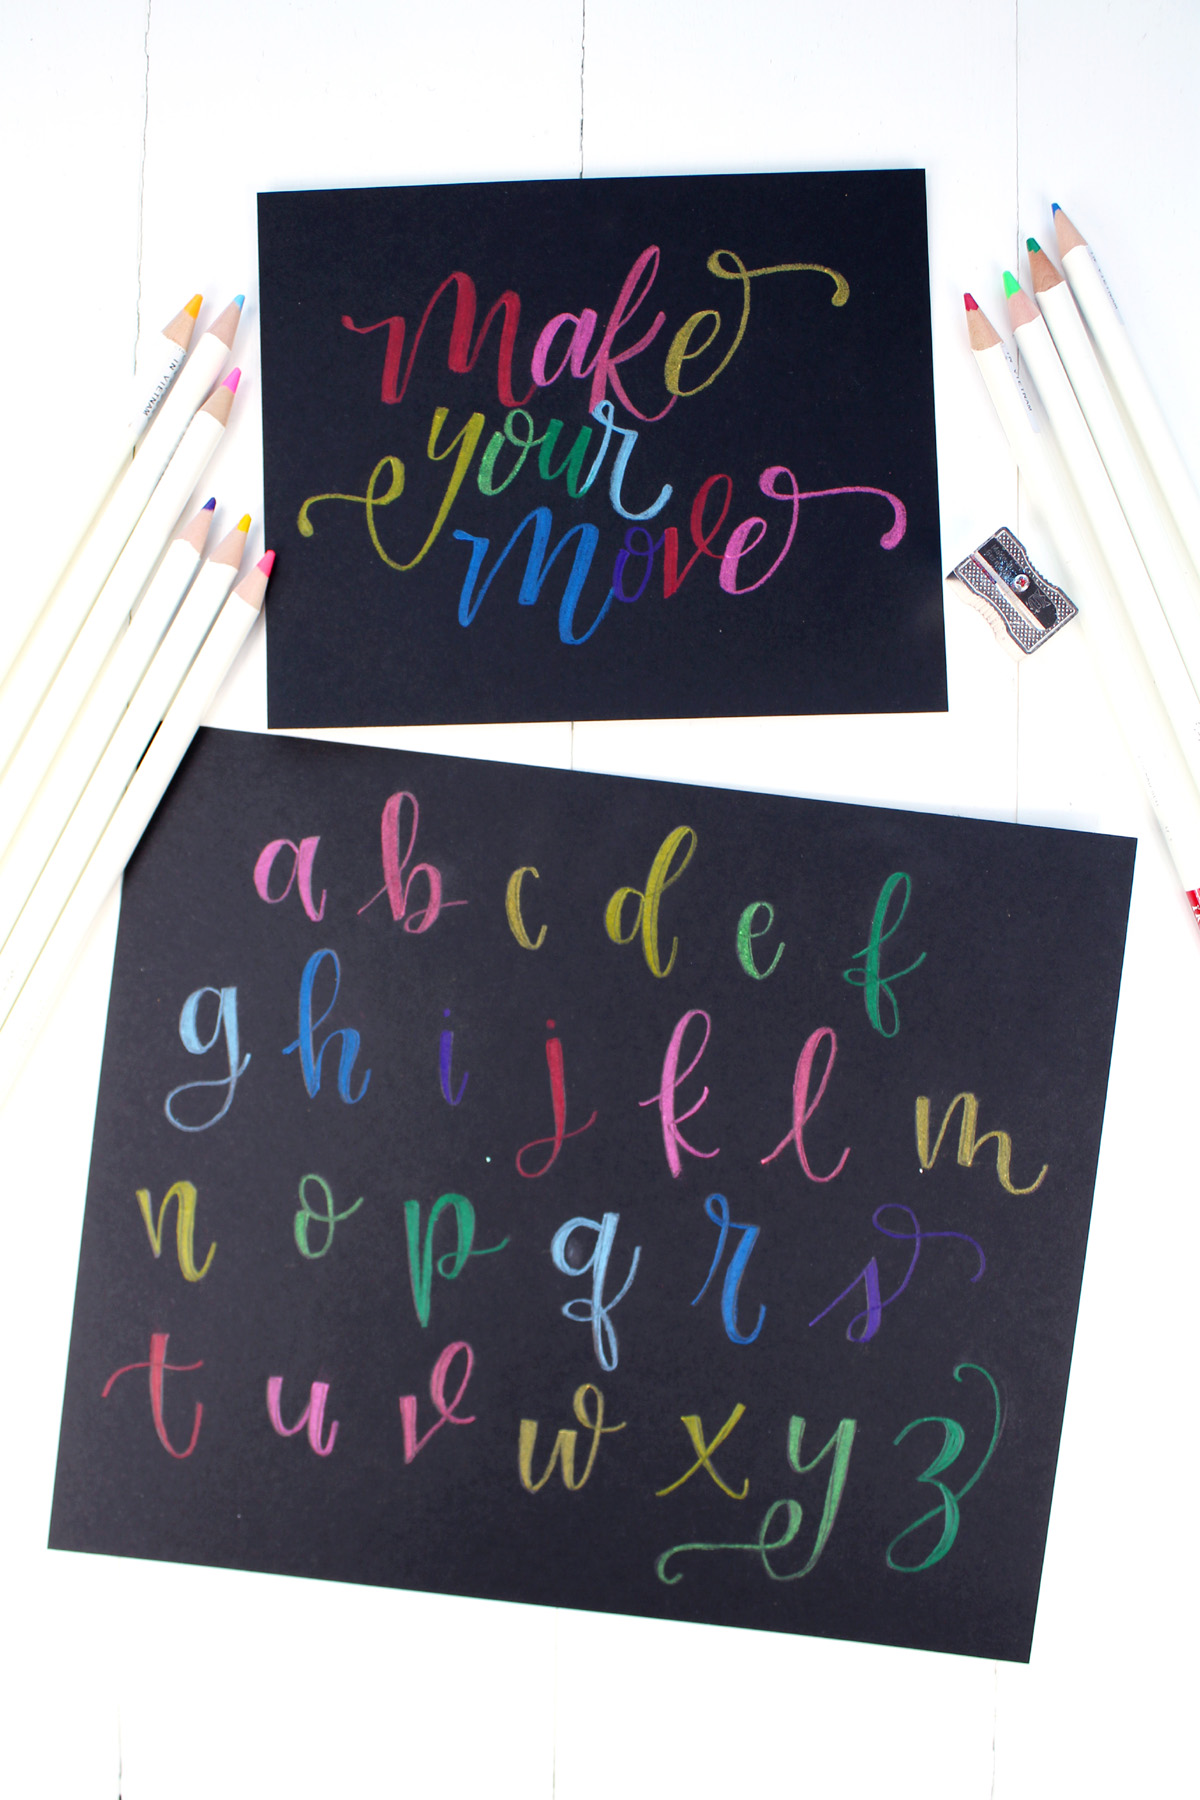
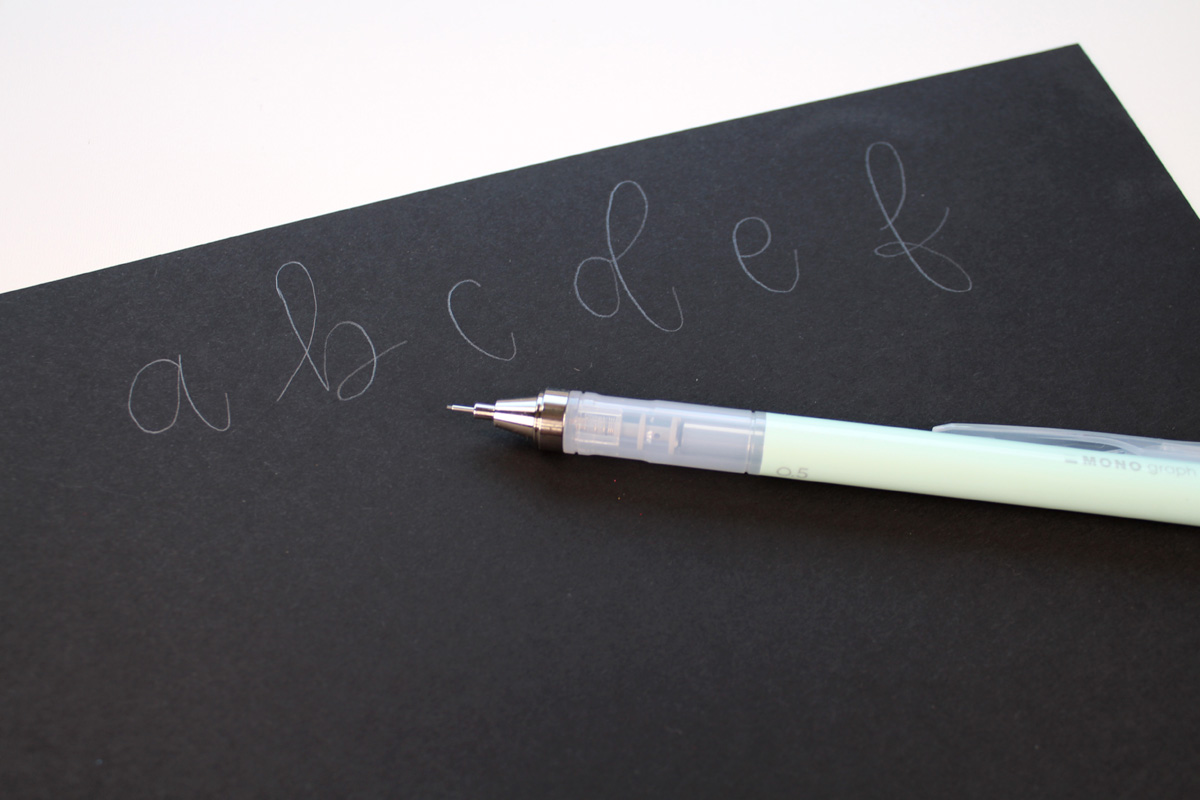
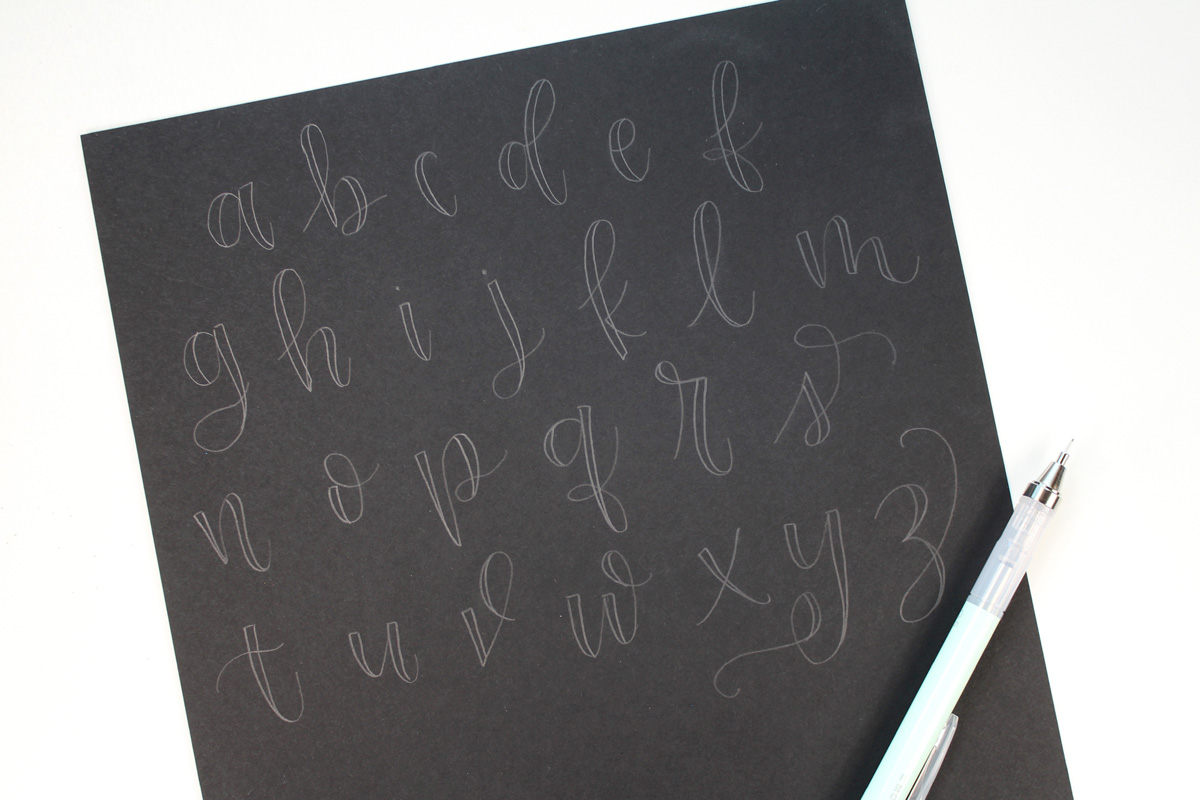
Begin with drawing each letter with the MONO Graph Pencil. Form the letters in a cursive style, with big loops. Here’s some lettering worksheets you can refer to for letter shapes.
Step 2: Create Thick Downstrokes
Now, add a thick line to each downstroke of the letter. The signature look of hand lettering is the thick lines going down and very thin lines as the upstrokes.
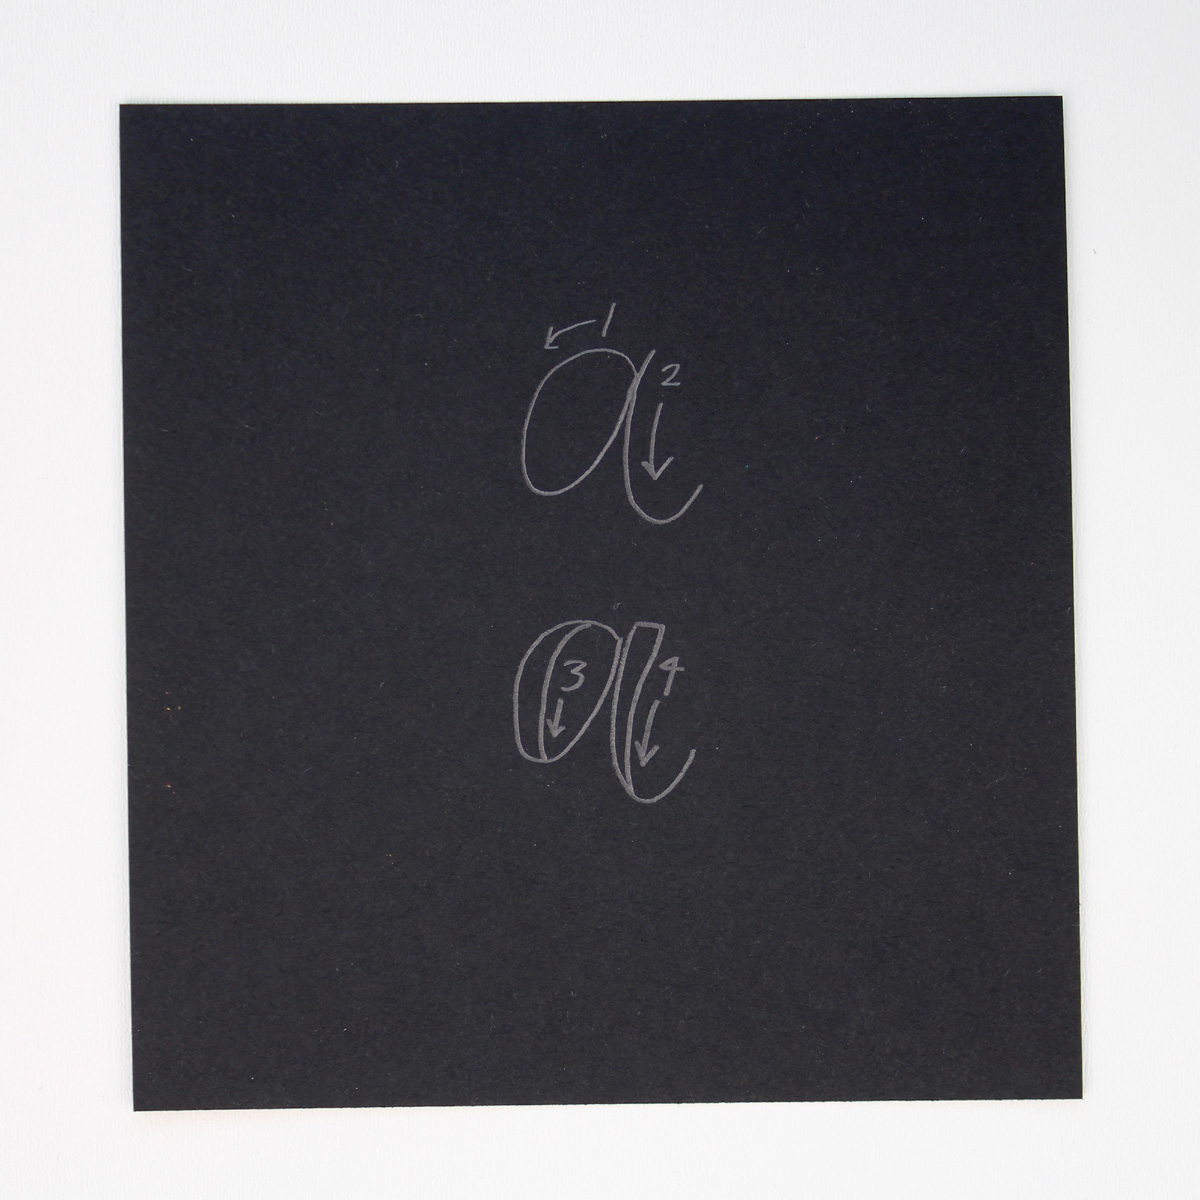
Use the same technique for each letter, adding a thick line to each downstroke and leaving the upstrokes alone.
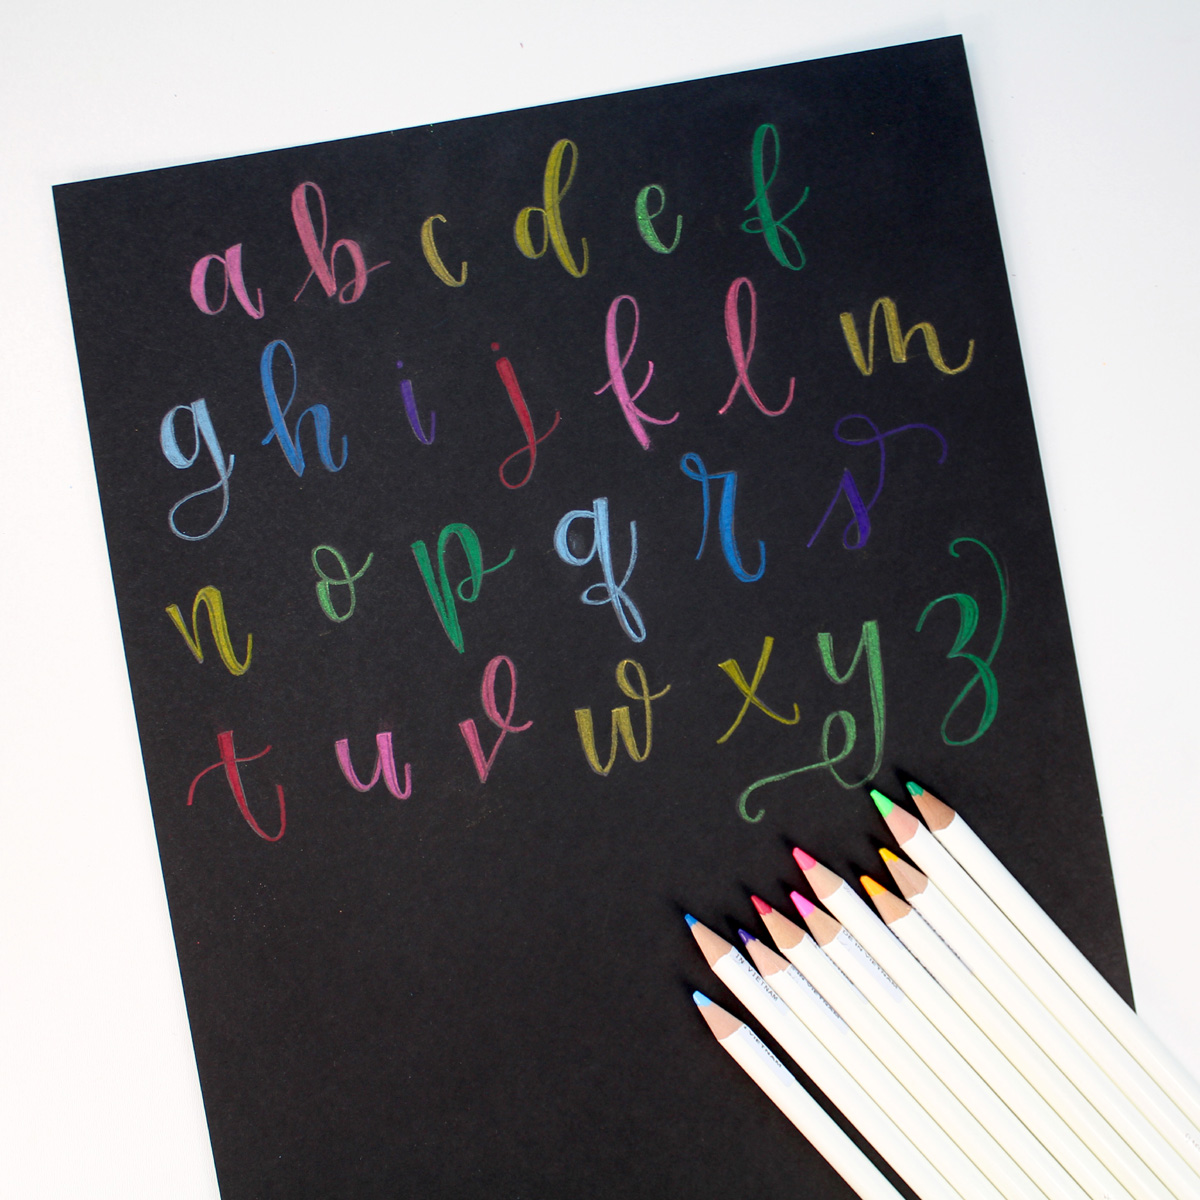
Now, use the colored pencils to color in the letters. These colored pencils are perfect for use on black paper. They almost look neon!
Step 3: Finished Bounce Lettering Piece
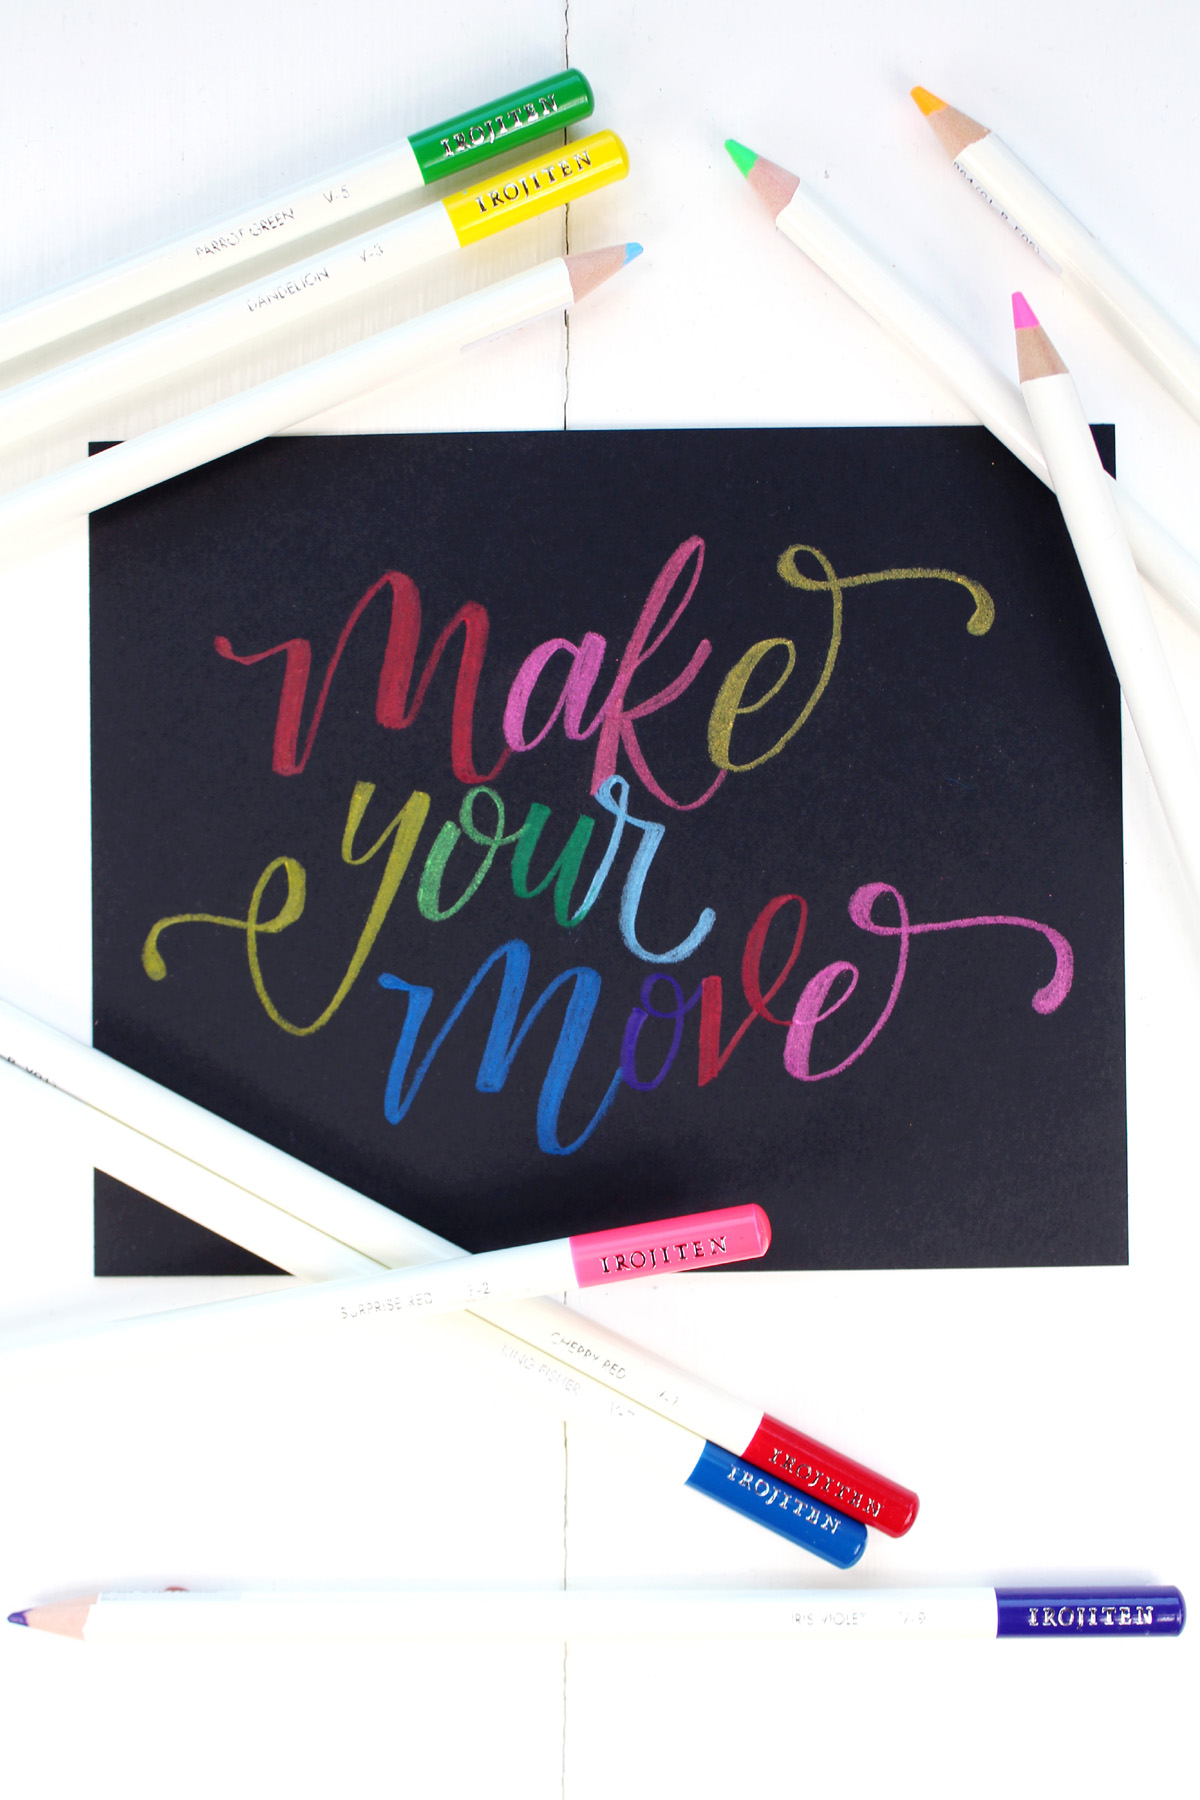
Now write something out with the colored pencils. Vary the colors as desired. Connect the letters to each other similar to cursive. Keep the bottom line bouncy as opposed to writing it across a straight line.
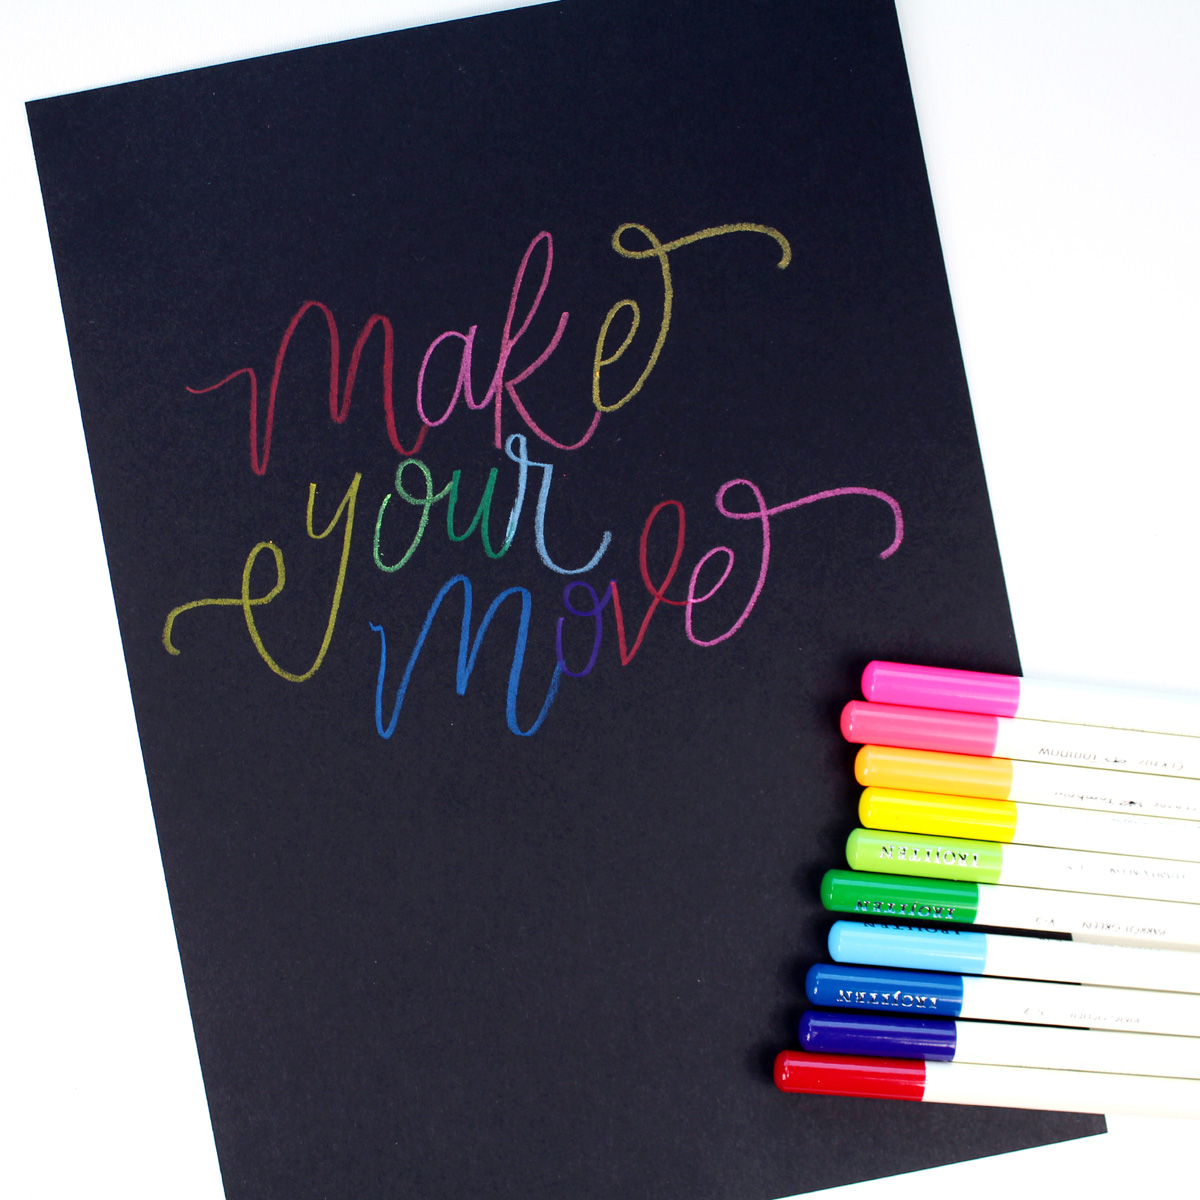
Then repeat the thick downstrokes as illustrated in step two using the colored pencils. Write your mantra and make your move! Take a picture of your finished piece so you can reference it as your lettering progresses. I love being able to look back and see how far I’ve come.
Now, just add practice!
After you feel comfortable drawing each letter, pick up some Tombow Dual Brush Pens and give brush lettering a try. This post showcases blended lettering.
The post Learn Bounce Lettering Using Irojiten Colored Pencils appeared first on Tombow USA Blog.
